# Geiger-interface - WIP
#### TODO:
- ~~RadMon integration~~
- Clean code
- Check MQTT reliability
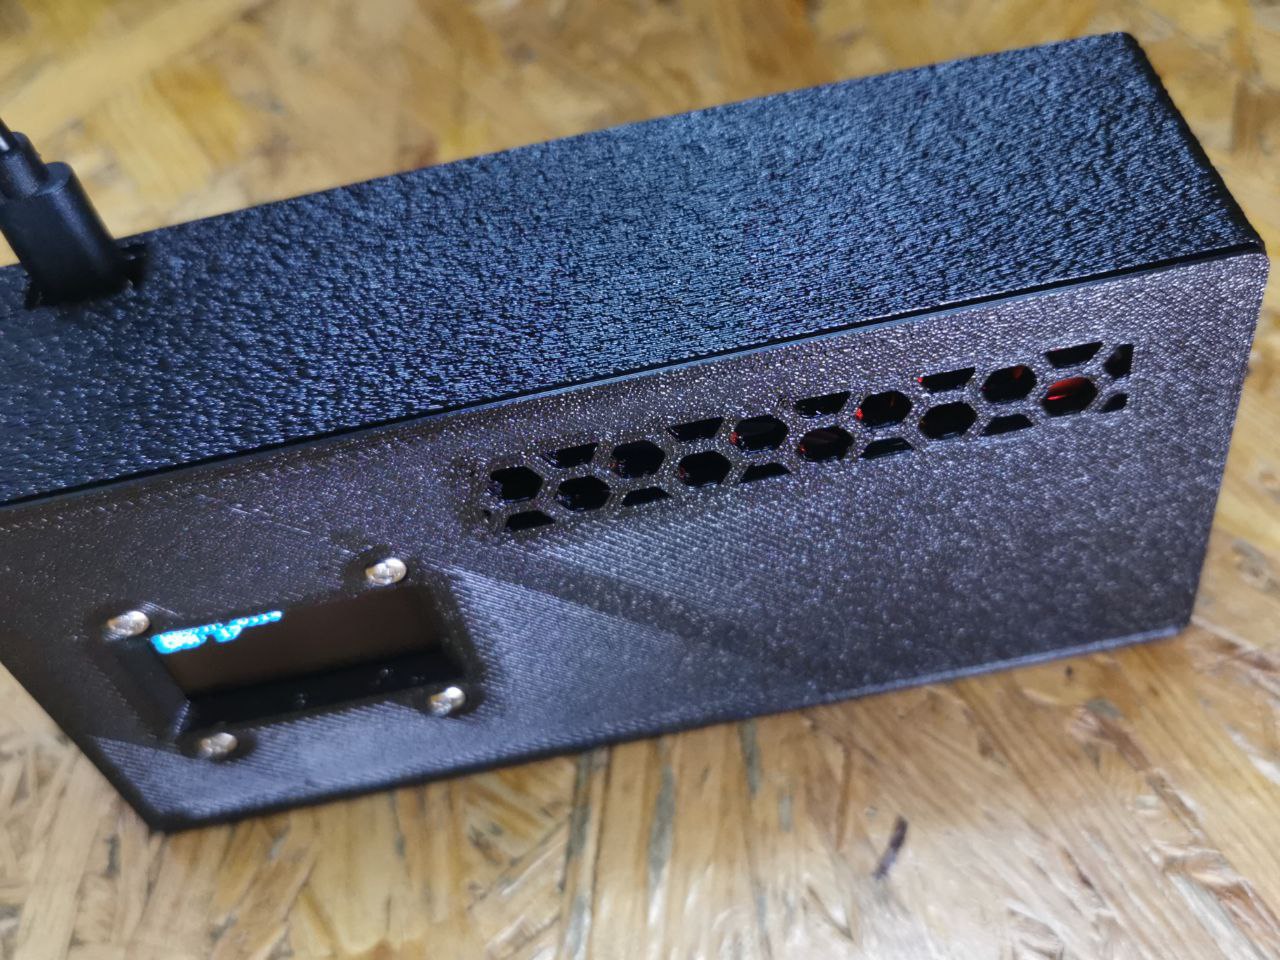
- ~~OLED display support~~
- Radioactive@home integration (as a standalone sensor without Boinc client)
- Fix saving params after DRD
### Hardware
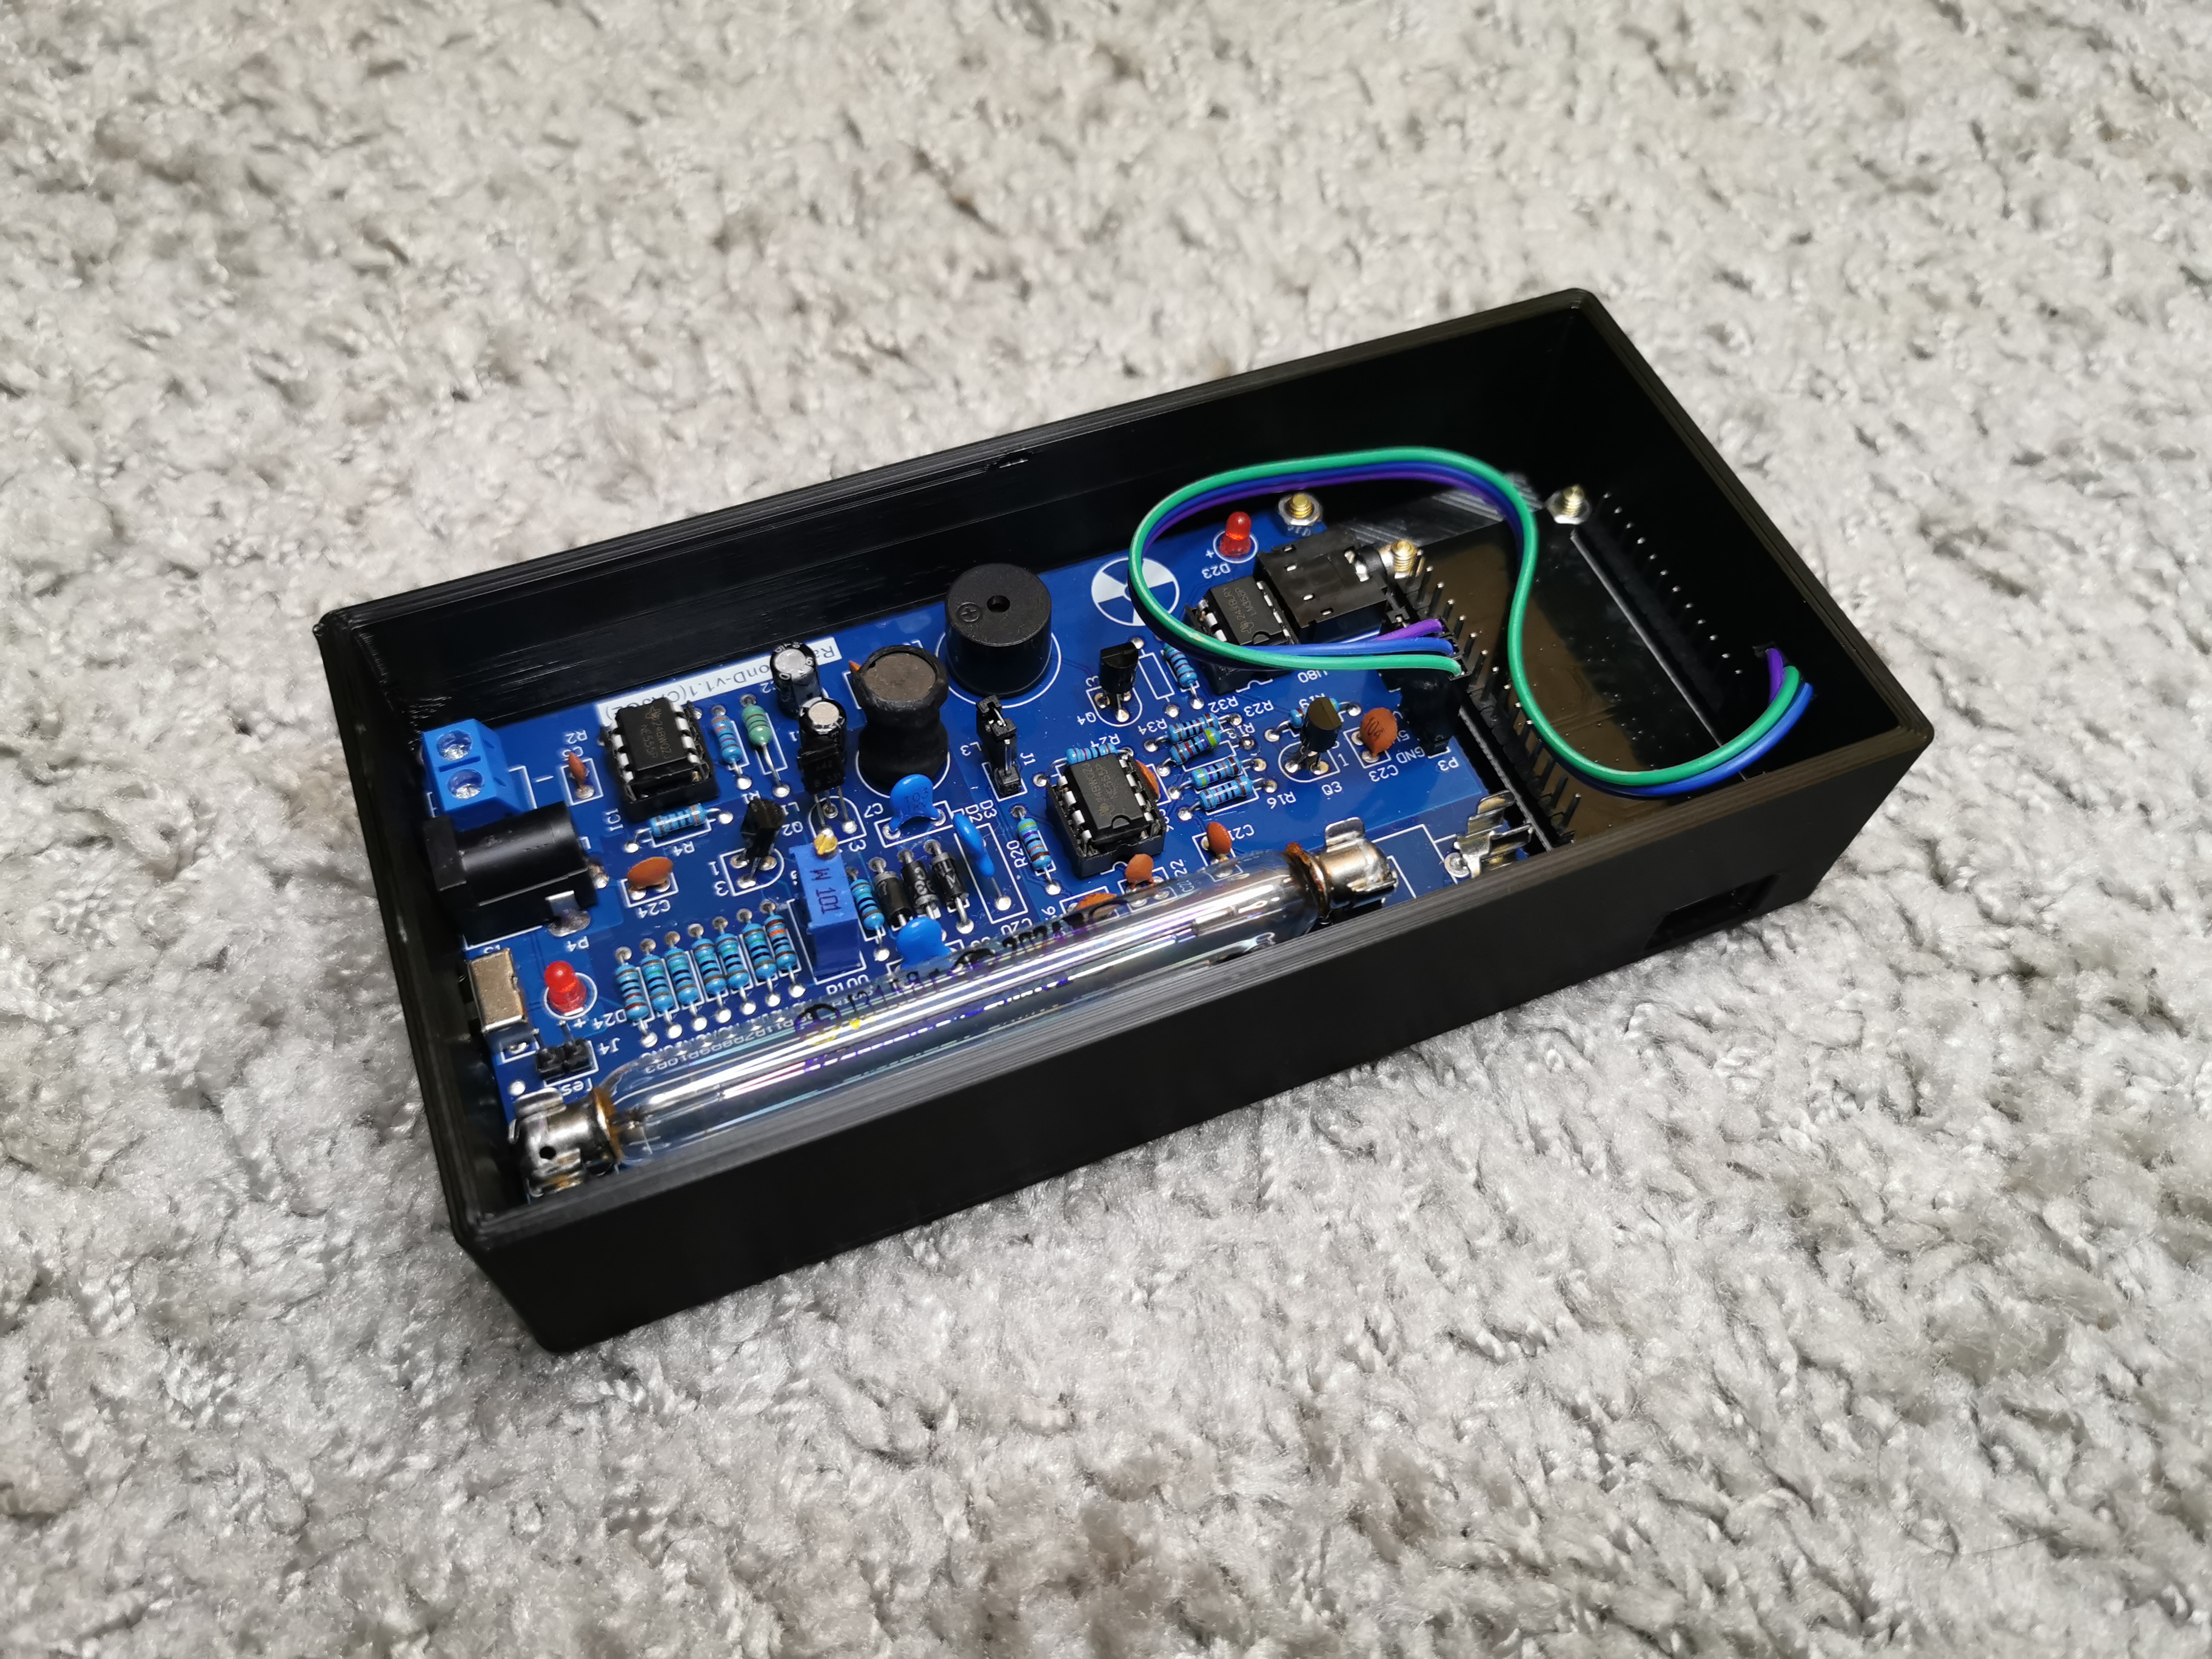
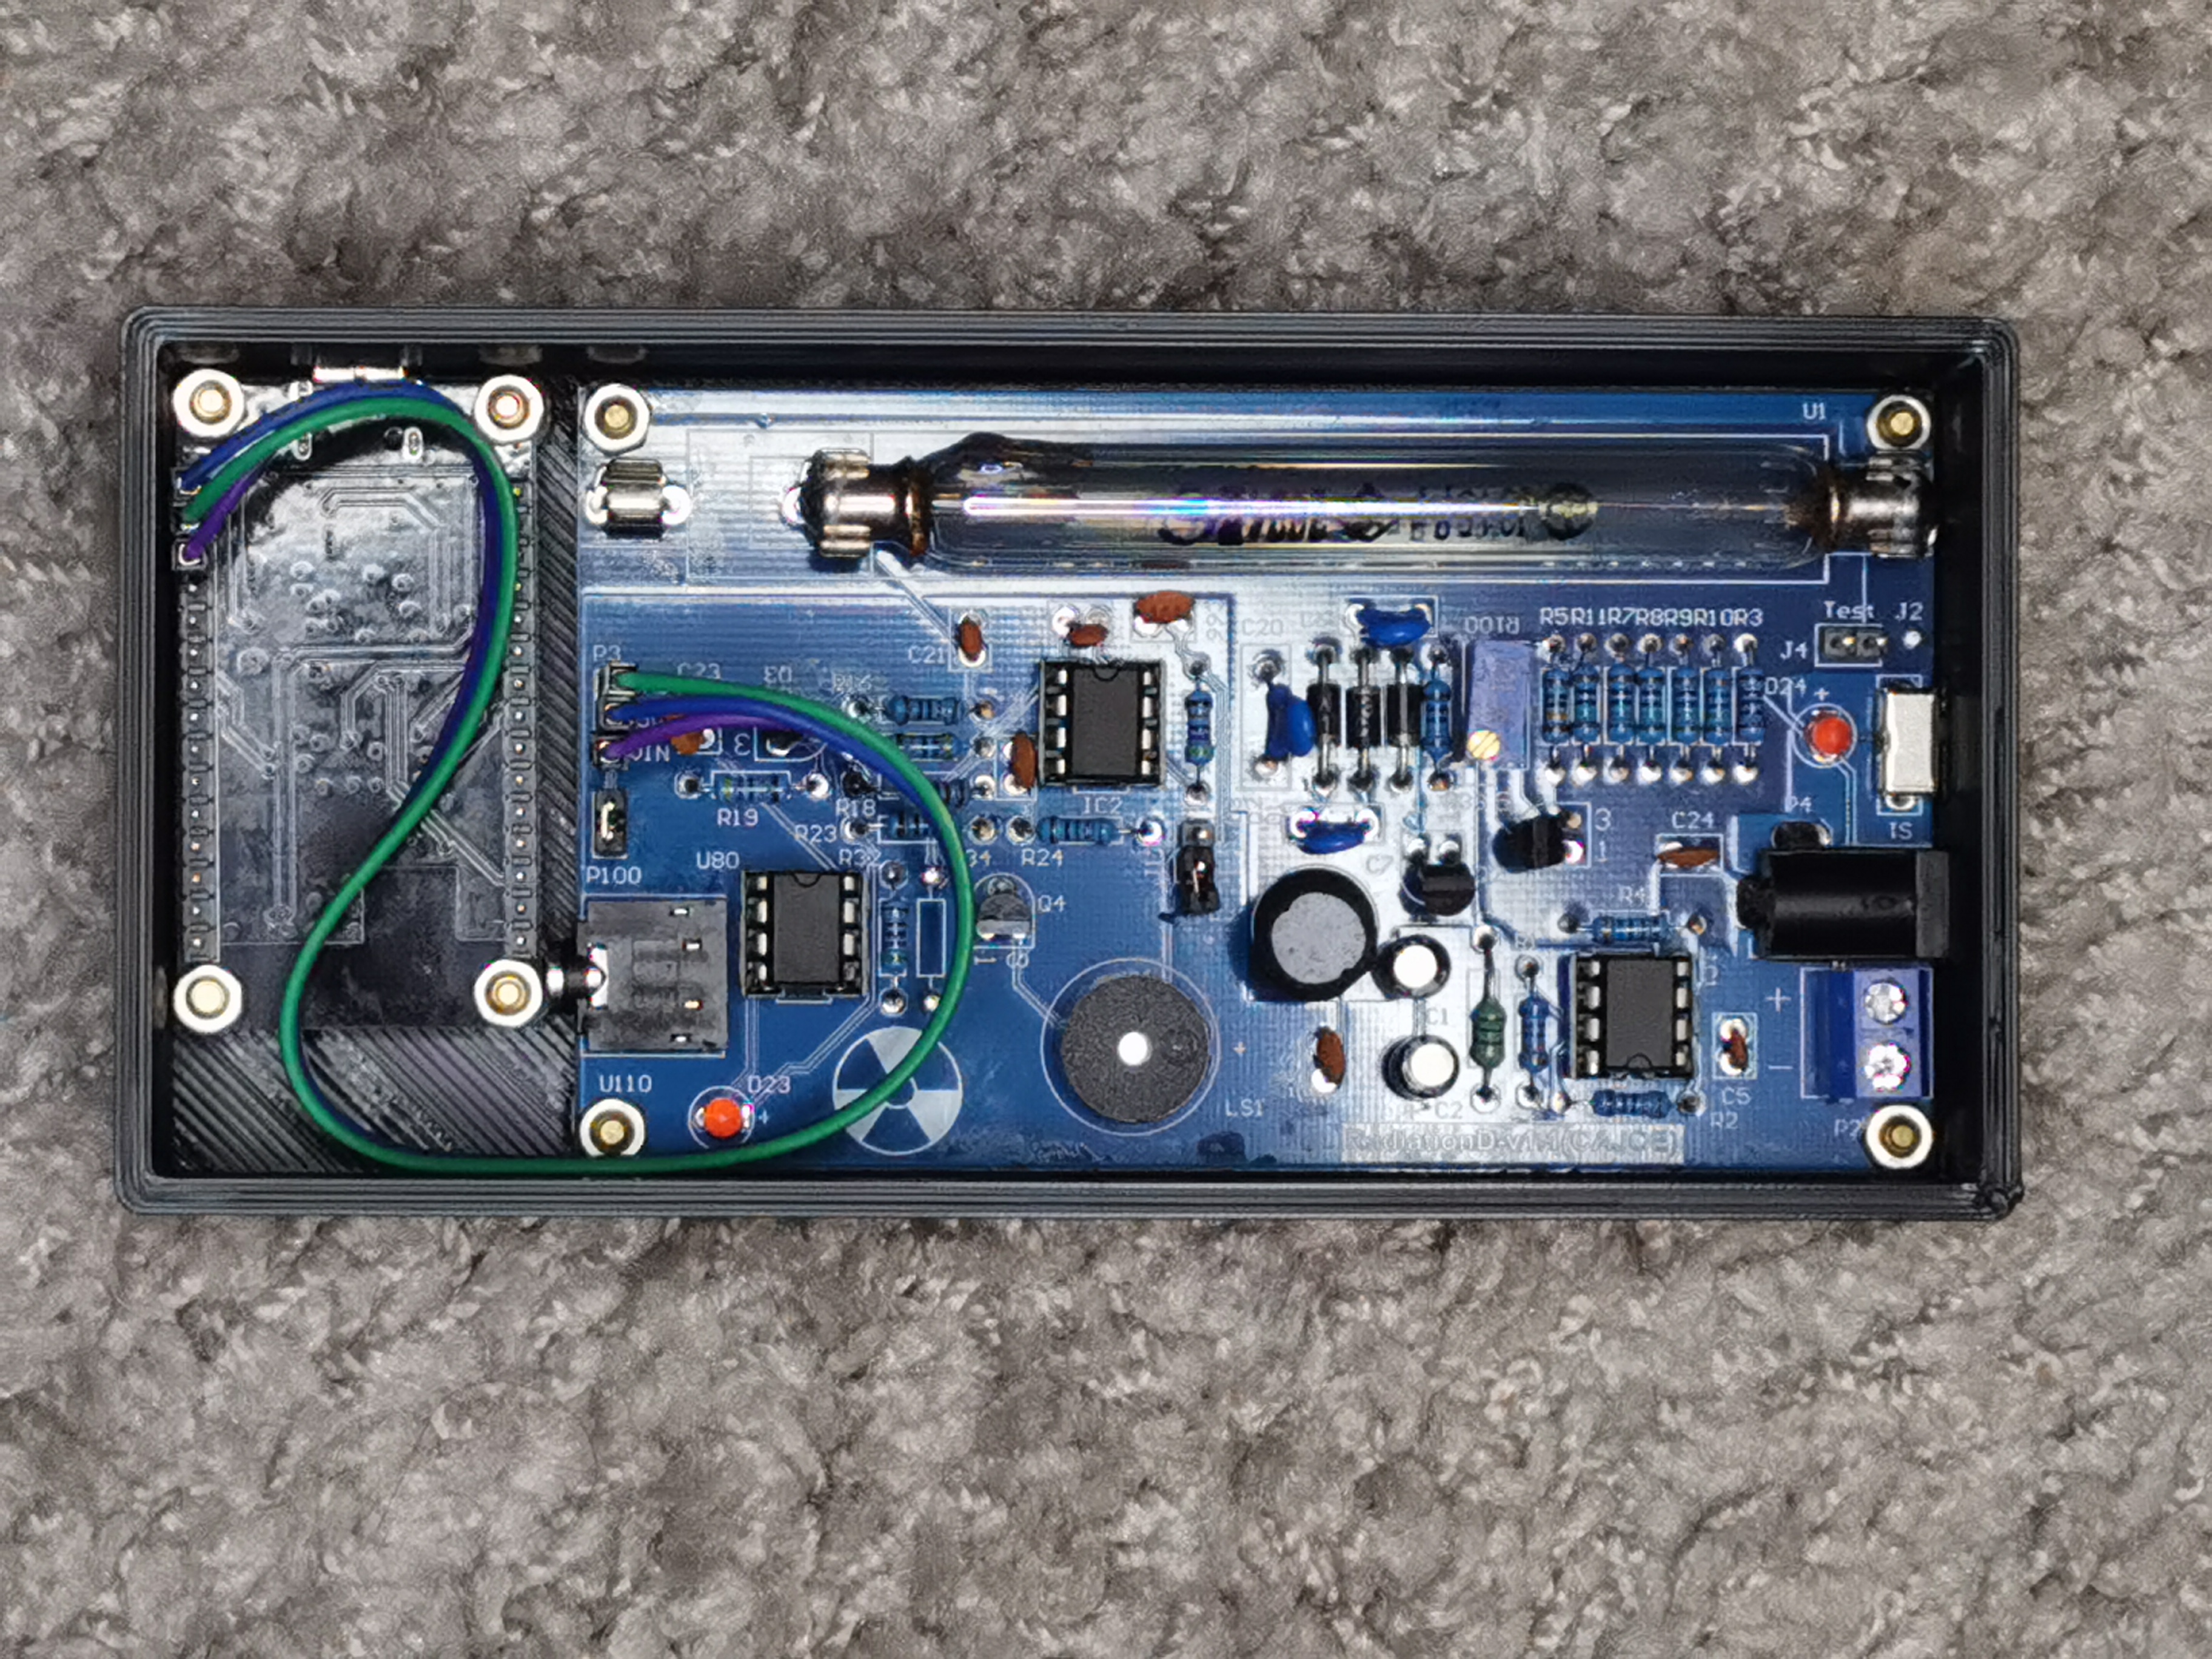
**RadiationD v1.1 (CAJOE)** it's a cheap(est) Geiger counter that you can found on China market. I recommend to order assembled ;) due lacks of documentations. Next one is ESP32. I like generic dev boards like **HW-394 - ESP32-WROOM-32** - they are cheap, have many gpio, now they have even USB-C ;) Let's go connect it together. My CAJOE arrived with DuPont jumper wire, but don't be confused: **VIN** on CAJOE is an signal output! After everything is connected, you can flash ESP with **Geiger-interface.ino**. On first boot, WiFiManager create access point named **ESP_xxxxxx**. After connect there will be captive portal (or under address http://192.168.4.1) where you can configure:
- Wifi connection
- MQTT server address
- GMC accound and geiger ID
- RadMon Username and Password
After **save** interface should connect to Wifi and send data :) If you provide wrong data you can enable captive portal by double reset of ESP.
About hardware: Interface should works with any geiger counter that output a pulse signal.
**DISCLAIMER:** I'm know that I am bad programmer, so feel free to send me fixes or improvements
### GMC.MAP integration
- Create account on https://www.gmcmap.com/
- Login, go to **My Account** -> **Manage Geiger Counter**
- Go to **Add device**, select location on map, select your model -> **OTHER**
After that you will see **Account ID** and **Geiger Counter ID**
### HomeAssistant integration
After MQTT is configured in Geiger-interface, simply add to HomeAssistant configuration.yaml
```yaml
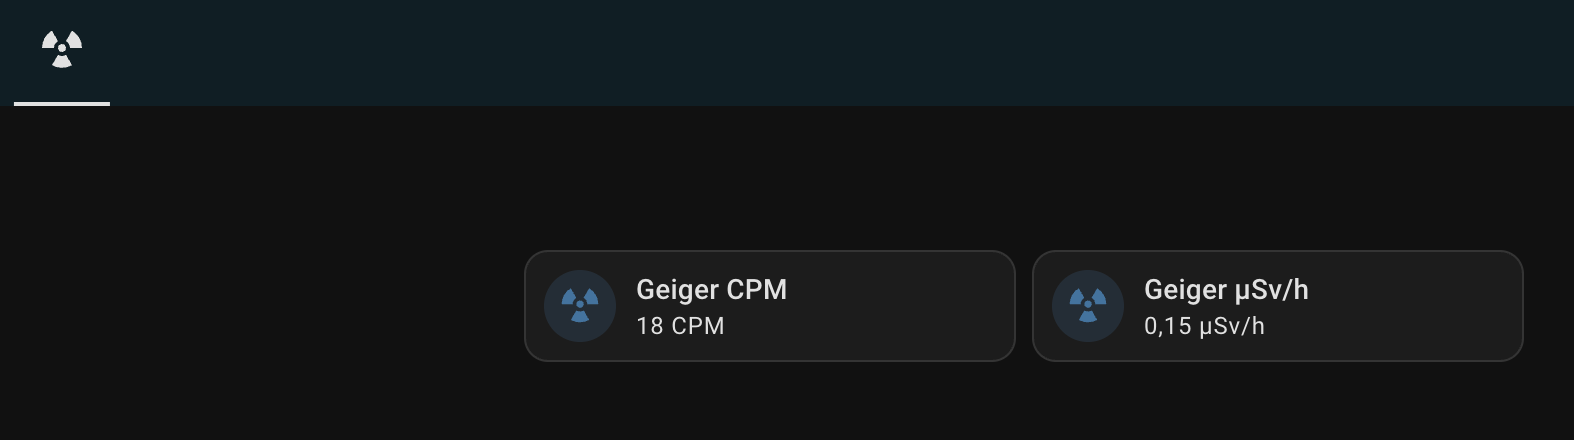
- name: "Geiger CPM"
state_topic: "esp32/CPM"
unit_of_measurement: "CPM"
icon: mdi:radioactive
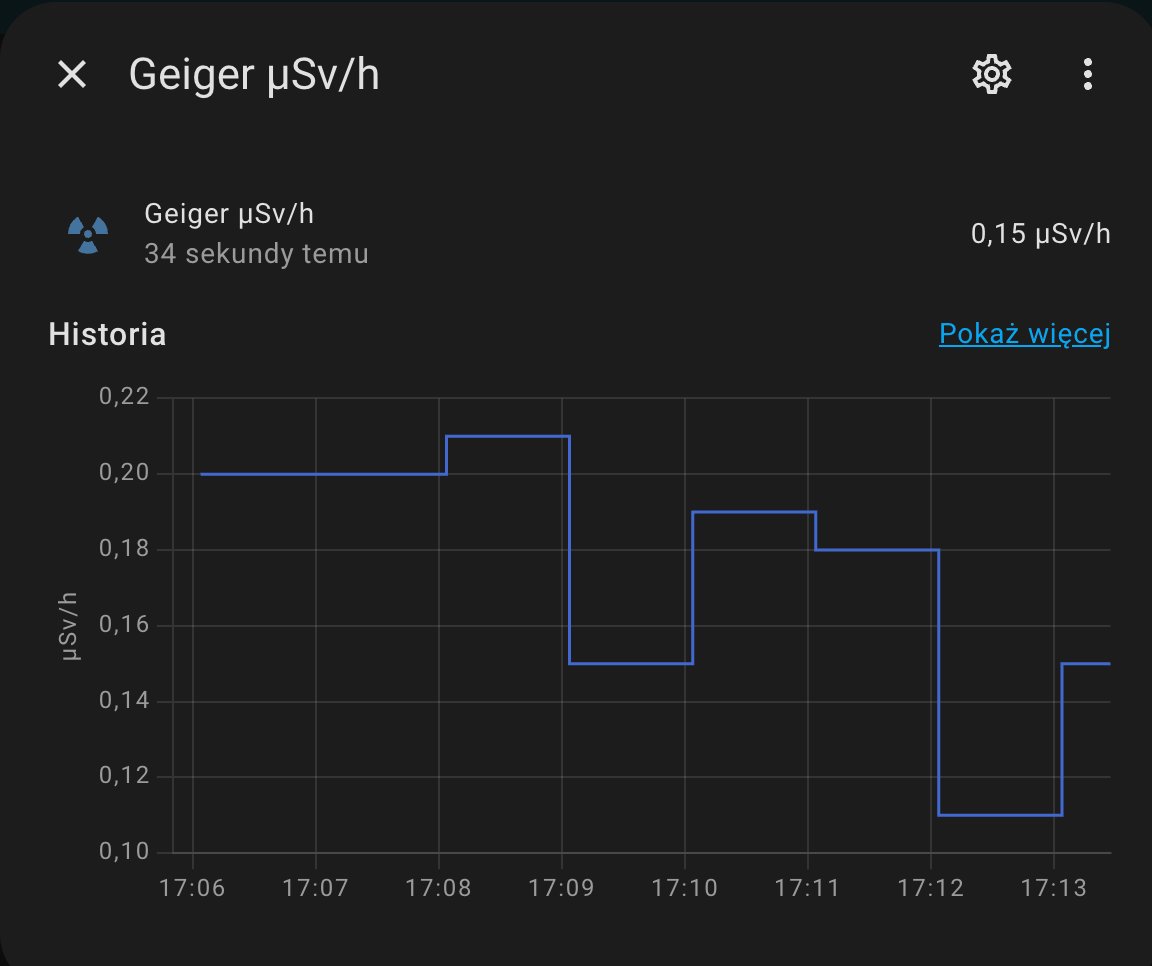
- name: "Geiger μSv/h"
state_topic: "esp32/uSv"
unit_of_measurement: "μSv/h"
icon: mdi:radioactive
```
reload configuration and voilà!
 ### RadMon integration
- Create account on https://radmon.org/
- Login, go to **Control Panel** -> fill form to add sensor
### J3x5 Tube specification
| Property | J3x5 |
|--------------------------------------------|--------------------------------------|
| Radiation type | beta, gamma |
| Dimensions (max), mm | d11 x 107 |
| Country of Origin | China |
| Vendor’s calibration
### RadMon integration
- Create account on https://radmon.org/
- Login, go to **Control Panel** -> fill form to add sensor
### J3x5 Tube specification
| Property | J3x5 |
|--------------------------------------------|--------------------------------------|
| Radiation type | beta, gamma |
| Dimensions (max), mm | d11 x 107 |
| Country of Origin | China |
| Vendor’s calibration
radioactive source | Co-60 |
| Sensitivity | 44 CPS at 1 mR/h
Co-60 |
| Dead Time | 180 microseconds* |
| At the background level | 25 pulses/minute |
| Internal background
noise | 0,2 pulses/s
12 pulses/minute |
| Recommended operating
supply voltage | glass tube 380 V
metal tube 400 V |
> *Dead Time for J305 based on the data from the Internet, since the datasheets from suppliers do not contain this data.
About J305 Tube conversion factor, you can read intresting article on: https://iot-devices.com.ua/en/geiger-tube-j305-how-to-calculate-the-conversion-factor-of-cpm-technical-note-en/
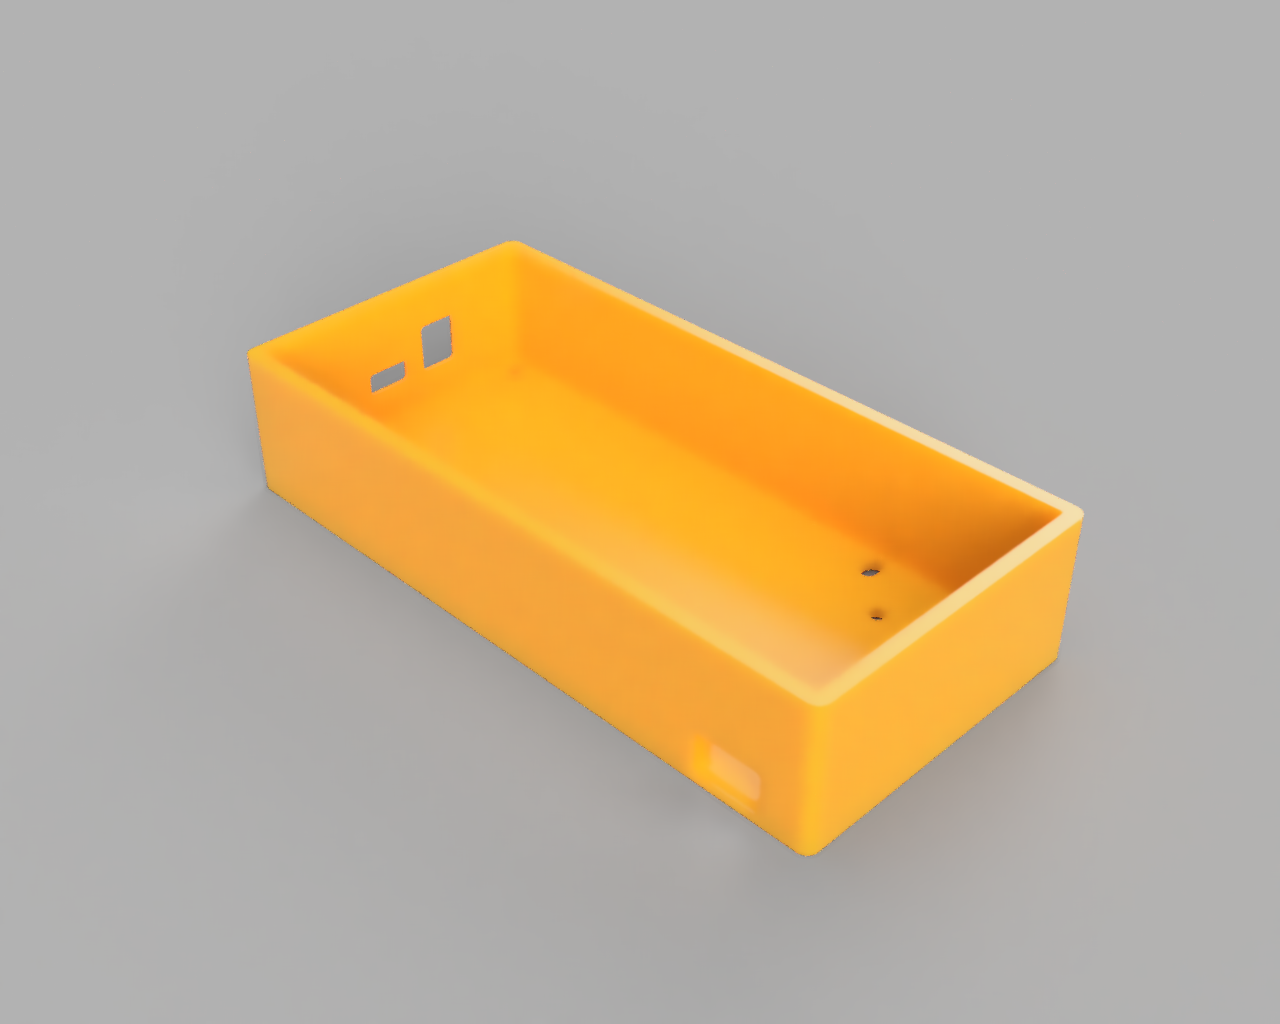
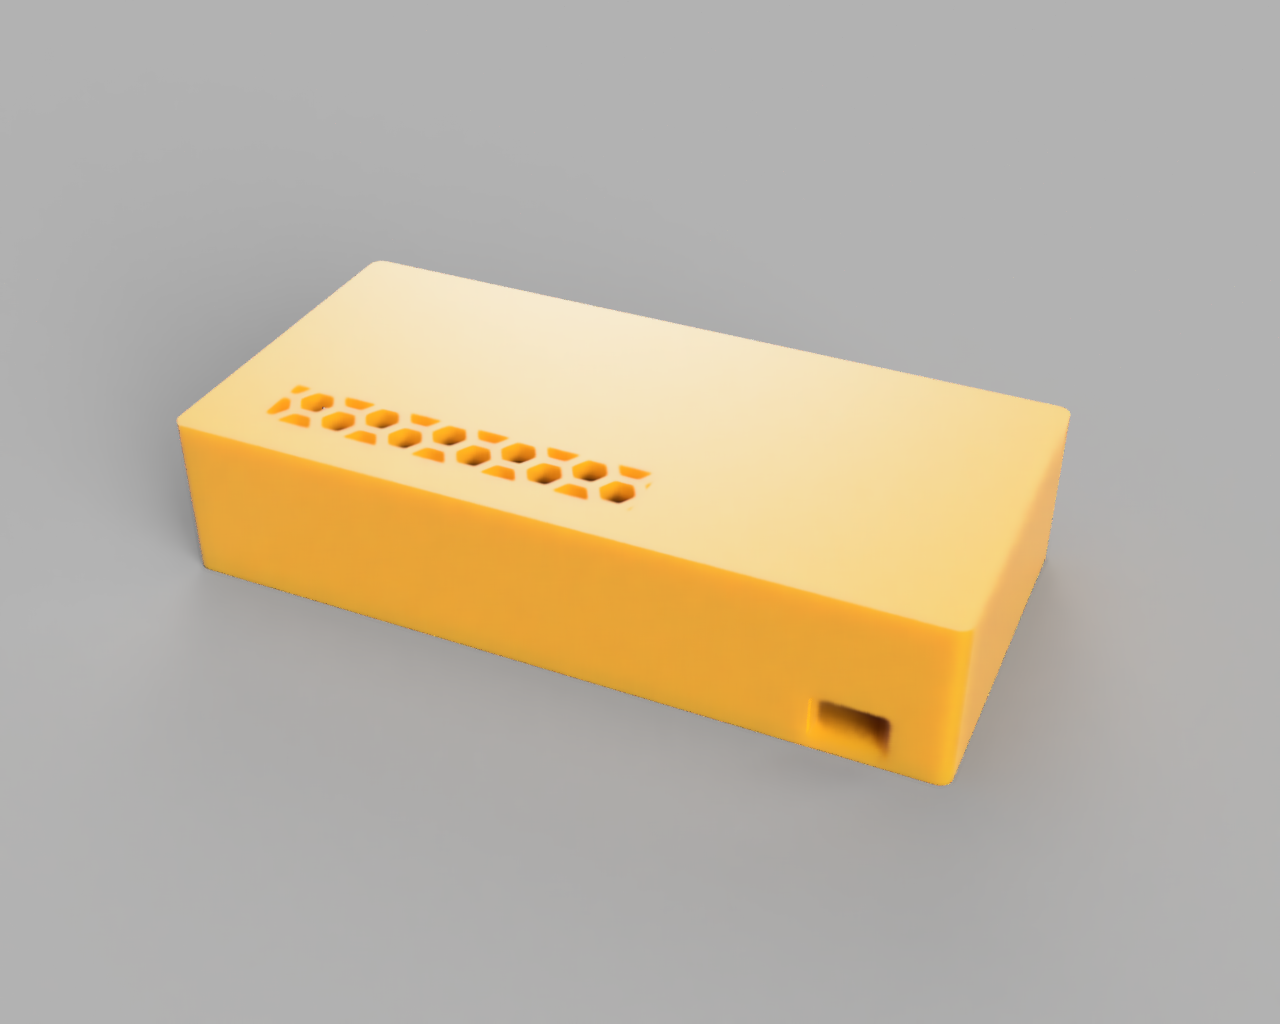
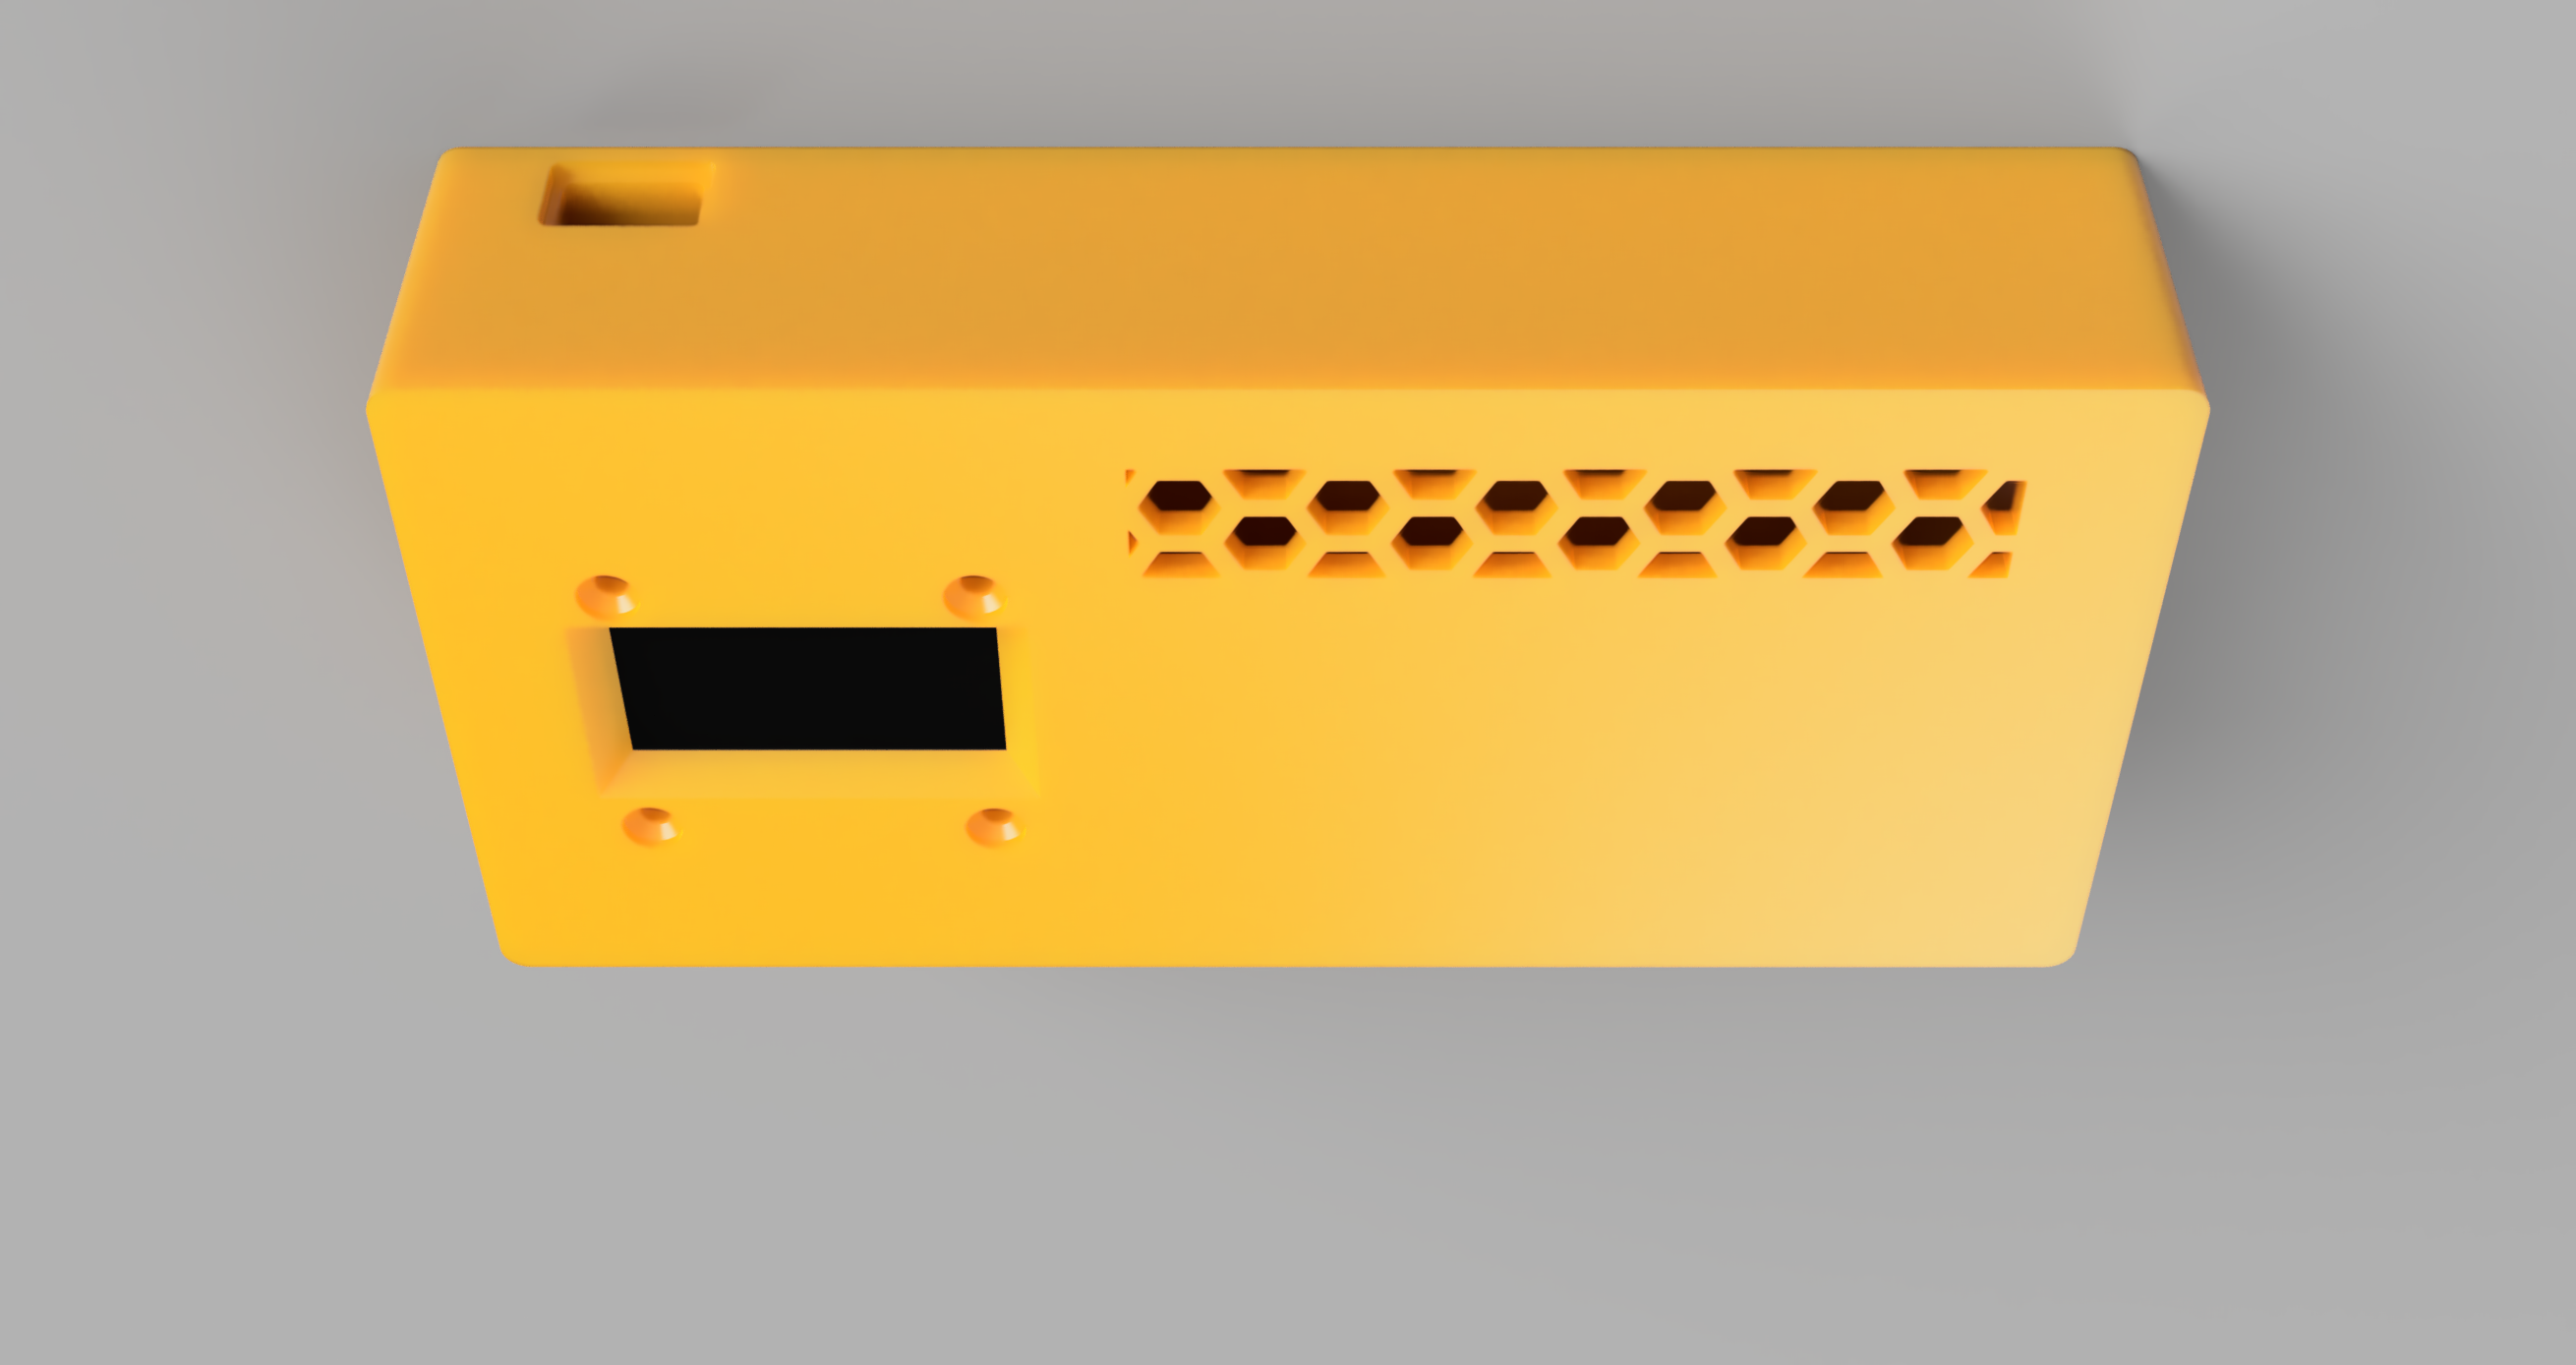
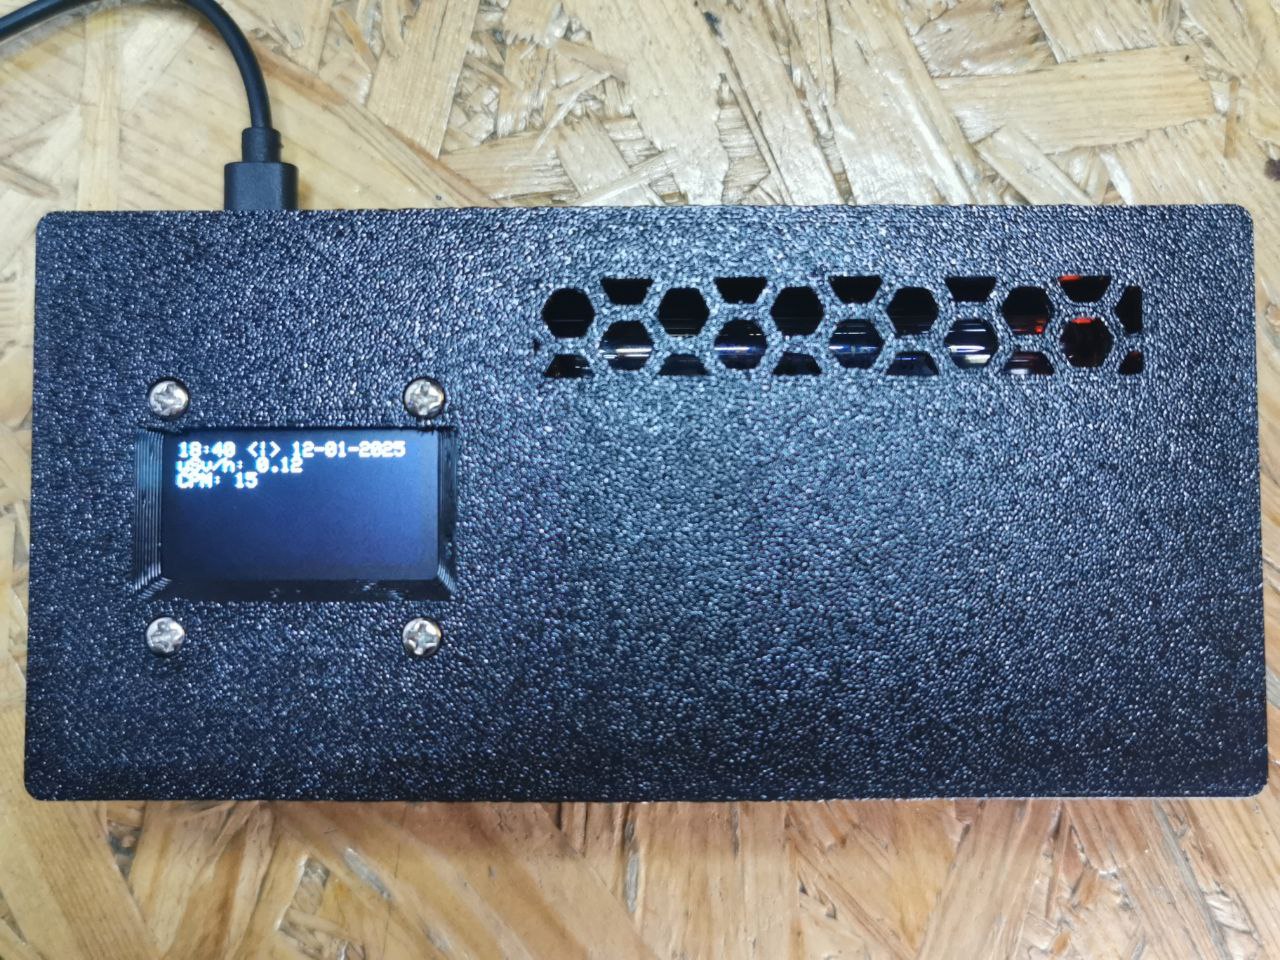
### 3D Printed case
Files download here https://git.noop.re/drops/Geiger-interface/src/branch/main/stl - case_bottom_oled.stl have more height due a gold pins on oled display and esp32 board.
If you have / order boards without gold pins and you use soldering wires to connect, you can print standard case.


### Resources
- https://iot-devices.com.ua/
- https://www.gmcmap.com/
- https://radmon.org/
- http://radioactiveathome.org/